Website subscription is one of many ways to keep readers engaged to your website. It is an essential element that can’t be neglected. No matter what form of the subscription box is – pop-up or simply a register form on the sidebar, you need to have it installed on your website. Once your reader subscribed to your website, they will get the notification whenever you have new content published.
We got so many questions from our clients about which subscription box they should be using. If you are a Wordpress and Genesis child theme user, Genesis eNews Extended is the best plugin out there. And to have it work its best way, incorporate it with Mailchimp. Mailchimp keep your subscriber list neat and easy to manage. Not only it sends out email notify your readers about your new content automatically, but you could also shoot out an e-newsletter once awhile manually as well. The best part? It’s a free service. Even a.s.o.s is using them. Now, let us go through the setup. It literally take you just 15 minutes to have it installed.
Register a Mailchimp account
Register a mailchimp account if you don’t have already. Install and activate Genesis eNews Extended plugin on your blog. Before you could set the Genesis eNews Extended widget up, please login to your mailchimp account and get the subscription box code.
How to get the subscription box code?
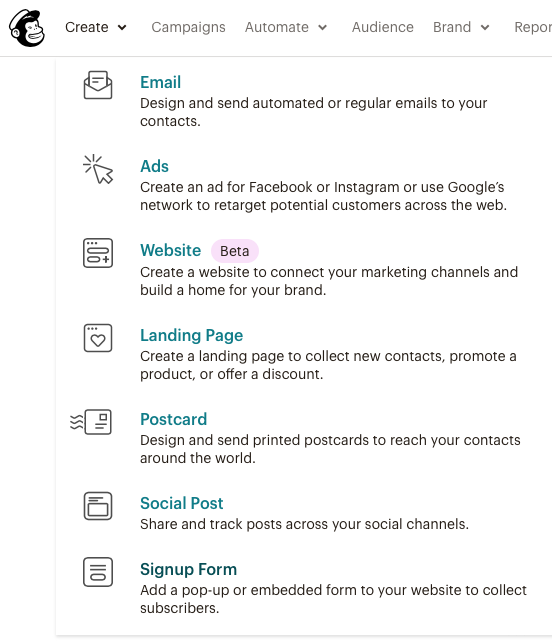
On your mailchimp dashboard, click “CREATE” > select “SignUp Form”.

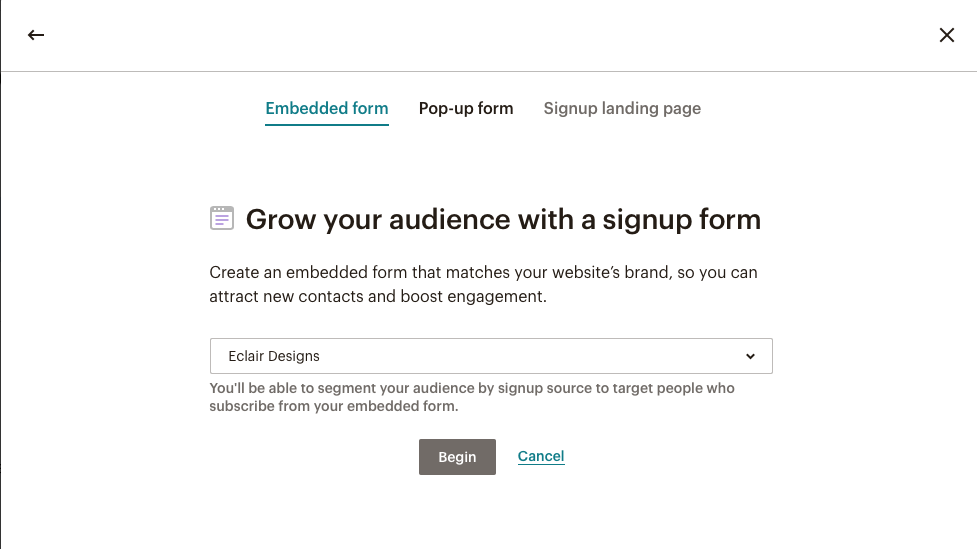
Click the drop down menu of the list and select the list that you’d like to use for collecting your subscribers’ email address.

Now you will see a large block of codes sitting there waiting for you. Don’t panic. We just need a small amount of it and no code editing needed.
Paste your form action code (aqua colored) in your Genesis eNews Extended form action field.
E-Mail Field = EMAIL
First Name Field = FNAME (optional)
Last Name Field = LNAME (optional)
And that’s it! Don’t forget to save the widget. Now you can easily manage your subscribers and newsletter via mailchimp.
